All Games at the Source Comics and Games Setup begins at 10:30 AM and play soon after. No Figures or Experience are Required to Play
There is no game on Saturday May 2nd due to Free Comic Book Day.

Centurion Wargaming is a loosely organized community of miniature wargamers based in the Minneapolis–St. Paul metropolitan area. Our group brings together enthusiasts who share a passion for historical and tabletop miniature gaming.
All Games at the Source Comics and Games Setup begins at 10:30 AM and play soon after. No Figures or Experience are Required to Play
There is no game on Saturday May 2nd due to Free Comic Book Day.

Our first game represented the chaos of armies just coming together. Every general was inexperienced, every regiment was green, and the battlefield reflected it. Orders were confused, formations wavered, and more than once opportunities slipped away simply because no one yet knew how to handle a brigade in the heat of battle.
By the second engagement the armies had begun to find their footing. A handful of regiments had gained some experience in the field, and one officer—perhaps by luck, perhaps by talent—demonstrated the qualities of a capable commander. Even so, most of the troops were still learning their trade, and the fighting along the Blue River remained unpredictable and often disorganized.
Now we approach Game Three, and the campaign begins to take shape. The armies are no longer entirely raw. A few formations have seen enough fighting to begin to trust their officers and stand their ground under pressure. Commanders are learning which brigades they can rely on and which ones may falter at the wrong moment. Rivalries are beginning to develop, reputations are forming, and the story of the Blue River Campaign is slowly being written.
This next battle will test whether the lessons learned in the first two engagements have taken hold. Will the emerging leaders prove themselves once again? Will the greener formations finally steady themselves under fire? Or will the chaos of battle once more sweep away carefully laid plans?
One thing is certain: along the banks of the Blue River, the campaign is just beginning. Dice will roll, orders will be shouted, and another chapter in this entirely fictional Civil War story will soon be decided on the tabletop.
All Games at the Source Comics and Games Setup begins at 10:30 AM and play soon after. No Figures or Experience are Required to Play
All Games at the Source Comics and Games Setup begins at 10:30 AM and play soon after. No Figures or Experience are Required to Play
February 4th
Koenig Krieg
15mm Seven Years' War
Somewhere in Europe
Jim Fitzgerald
February 21st
Field of GLory - Ancients 3rd Edition
15mm Ancients
Era of the Second Punic War
Joe Knight
February 21st
Field of Glory - Renaissance
10mm Thirty Years' War
Jim Fitzgerald
All Games at the Source Comics and Games Setup begins at 10:30 AM and play soon after. No Figures or Experience are Required to Play
October 4th Field of GLory - Ancients 3rd Edition 15mm Ancients Era of the Second Punic War Joe Knight October 18th The Men who would Kings 25mm - American War of Independence Southern Campaign
All Games at the Source Comics and Games Setup begins at 10:30 AM and play soon after. No Figures or Experience are Required to Play
July 5th Regimental Fire & Fury American Civil War Western Theater Jeff Johnson July 19th Field of Glory - Punic War Somewhere in Italy Jim Fitzgerald
All Games at the Source Comics and Games Setup begins at 10:30 AM and play soon after. No Figures or Experience are Required to Play
 Once a quarter during the Centurions gameday at the Source Comics and Games we play Koenig Krieg, version 1.5.
“Koenig Krieg” was originally published by Barry Gray in the mis 1980’s. In 1996 Tom Dye edited the rules and republished the rules with Outland Games. Our group refers to this as version 1.5. The Centurions have been using this version of “Koenig Krieg” since the early 2000’s and have played hundreds of games. It is one of the clear cut favorites of our group, along with “Field of Glory” and “Regimental Fire & Fury”.
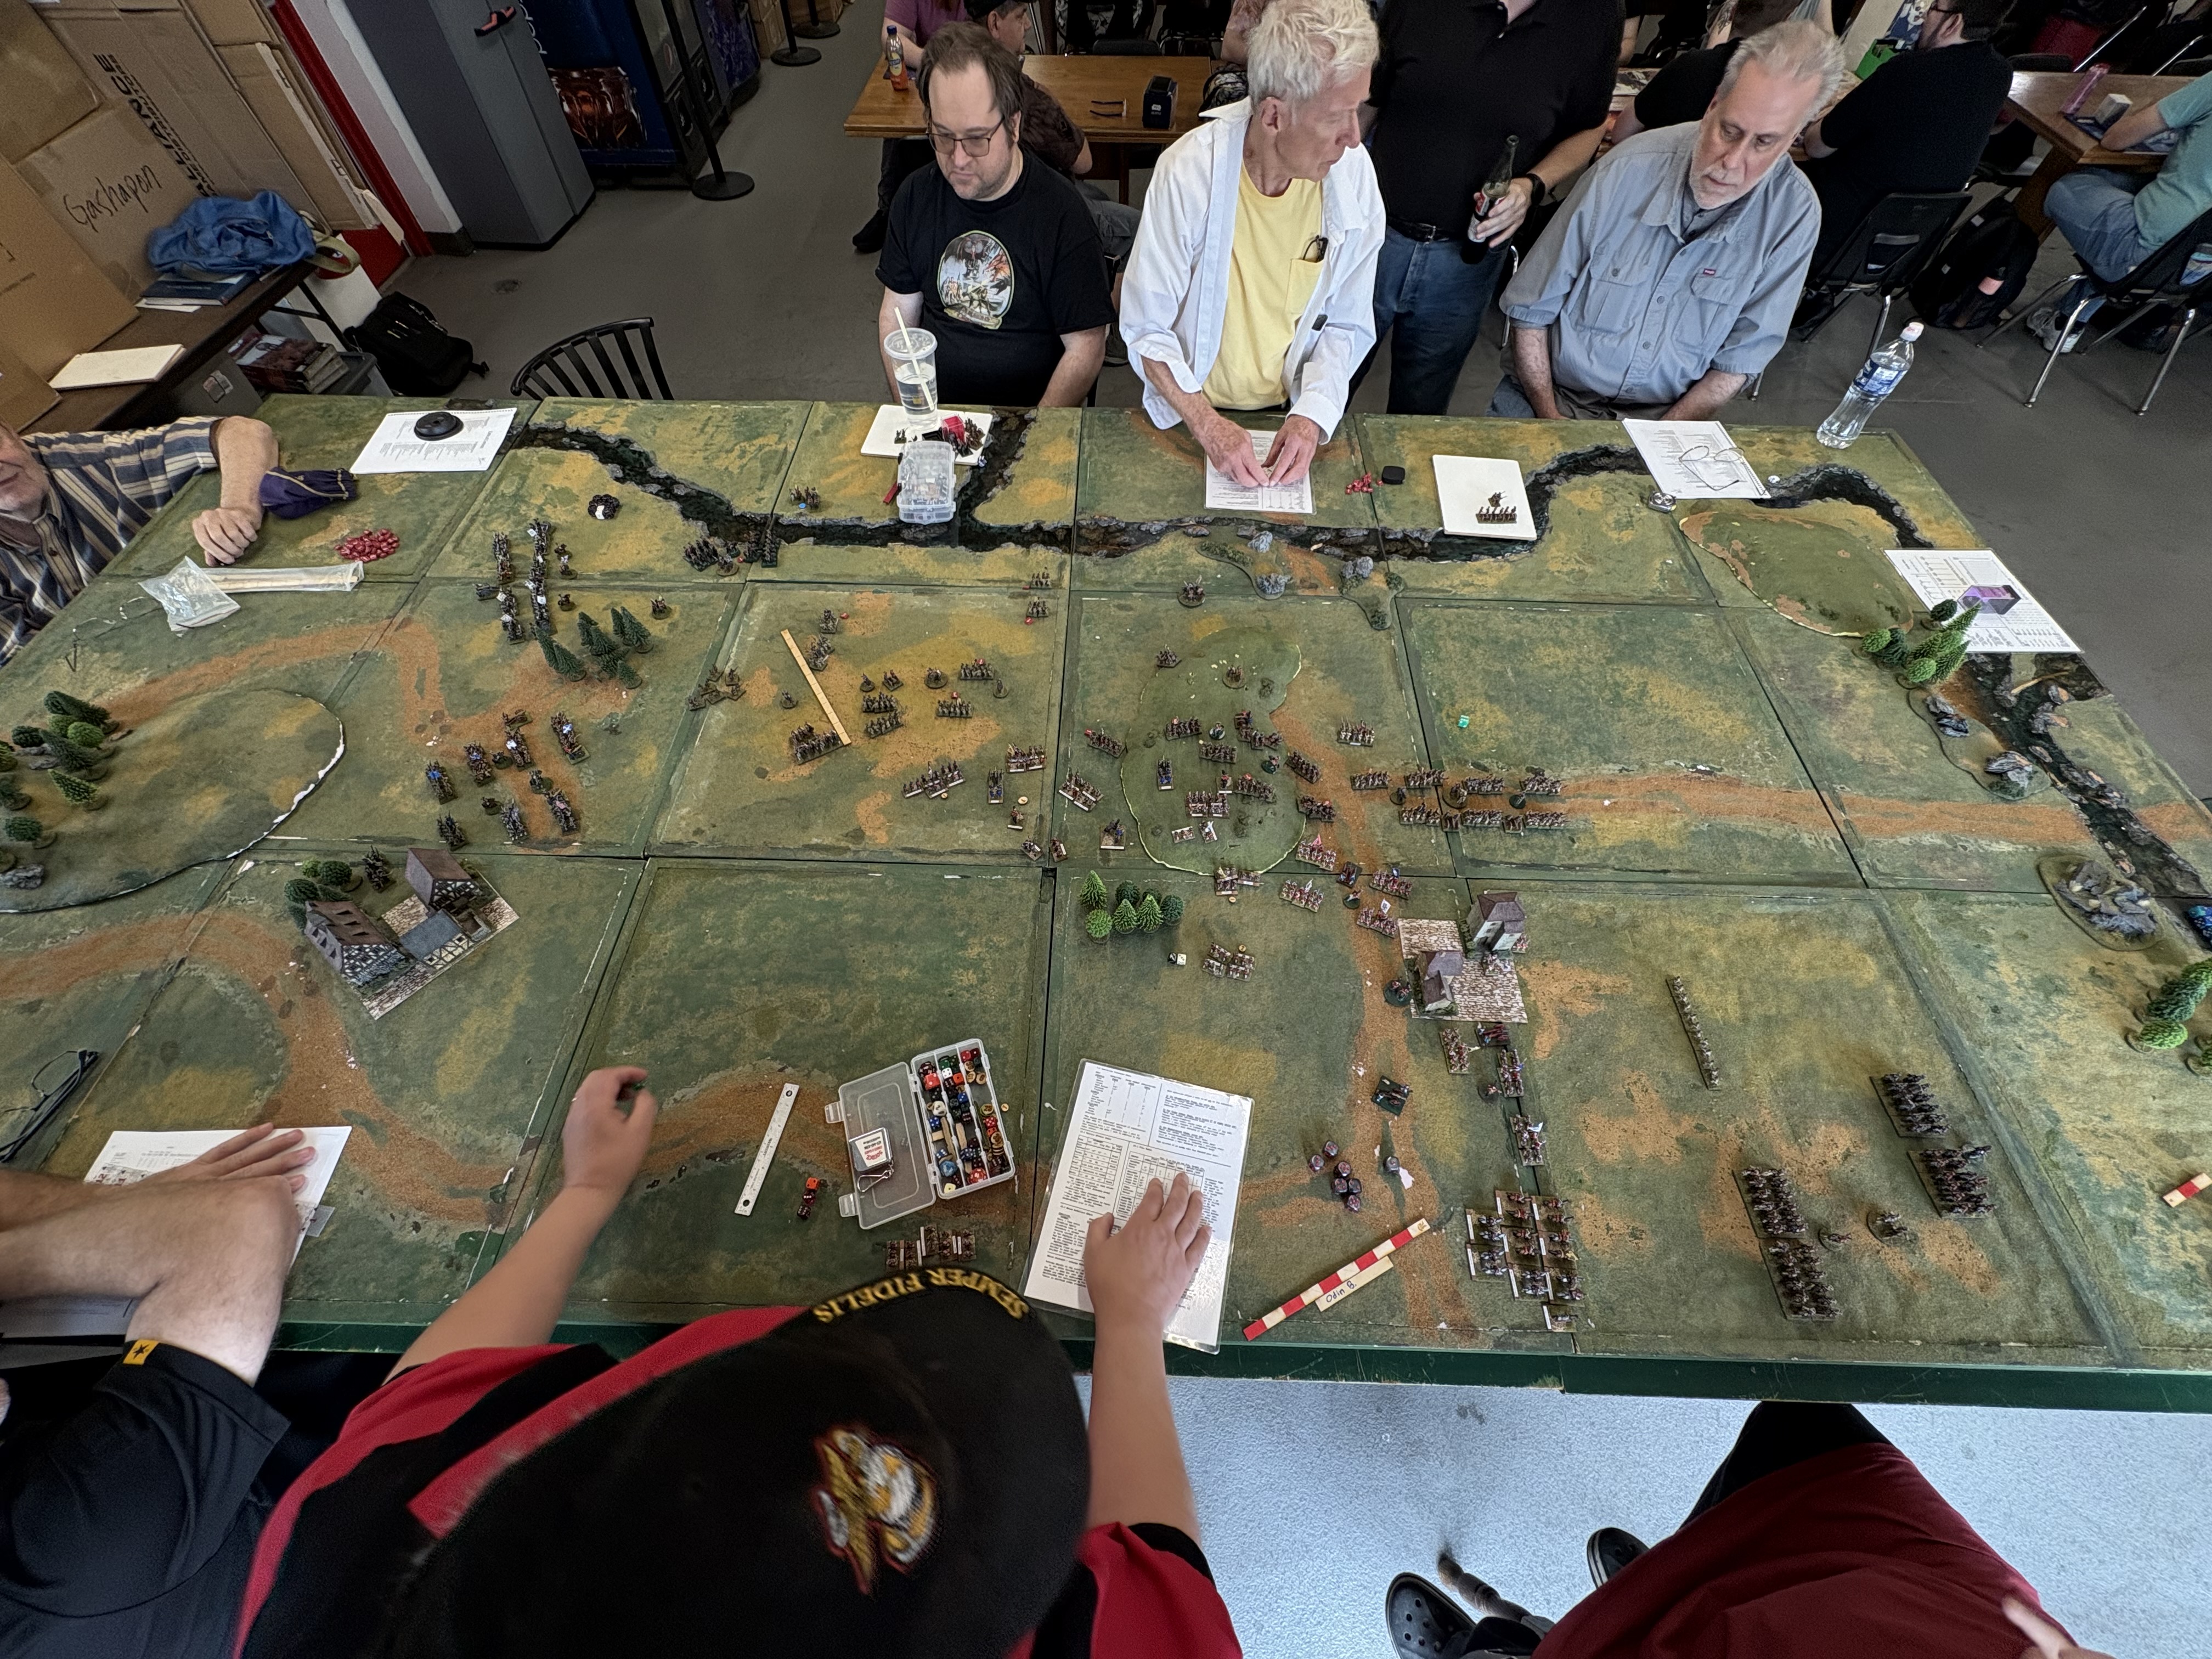
Our latest game had 10 players, seven cavalry brigades and thirteen infantry brigades along with associated artillery and light infantry. These numbers are typical of the favorite rule sets but by no means the largest game we have played.


The French were deployed along a fordable stream with two brigades of cavalry on each flank and six brigades of infantry in the center. The river on the right hand side of the board is not fordable.
With three brigades of cavalry on the left flank and three brigades of British and Hanoverian infantry on the right, they were supported by four brigades of DUTCH infantry on the extreme left.
The overall British Plan, personally approved by King George, was for the British cavalry on the left to move forward, engage the French cavalry on that flank, while the center British Infantry moved forward to hold the French Infantry in the center and the Hanoverians held off the French right flank while the Dutch slammed headlong into the flank of the French driving towards the center of the board.

Initially the French planned on fighting a delaying action allowing the British and her allies to come to it. Lt. General Tony on turn one got his dander up and launched an attack towards the intersection of the British and Hanoverian Infantry.

The aggressiveness of the French caught the British and Dutch players off guard a bit. As General Bob noted, without the Dutch allies the British and Hanoverians were out numbered 9 Brigades to 6 Brigades.


The British in the center ended up forming a salient, the Cavalry on the left flank was joy as affective as they hoped and the aggressive movements turned their plans from a holding the French to a full out defensive posture.


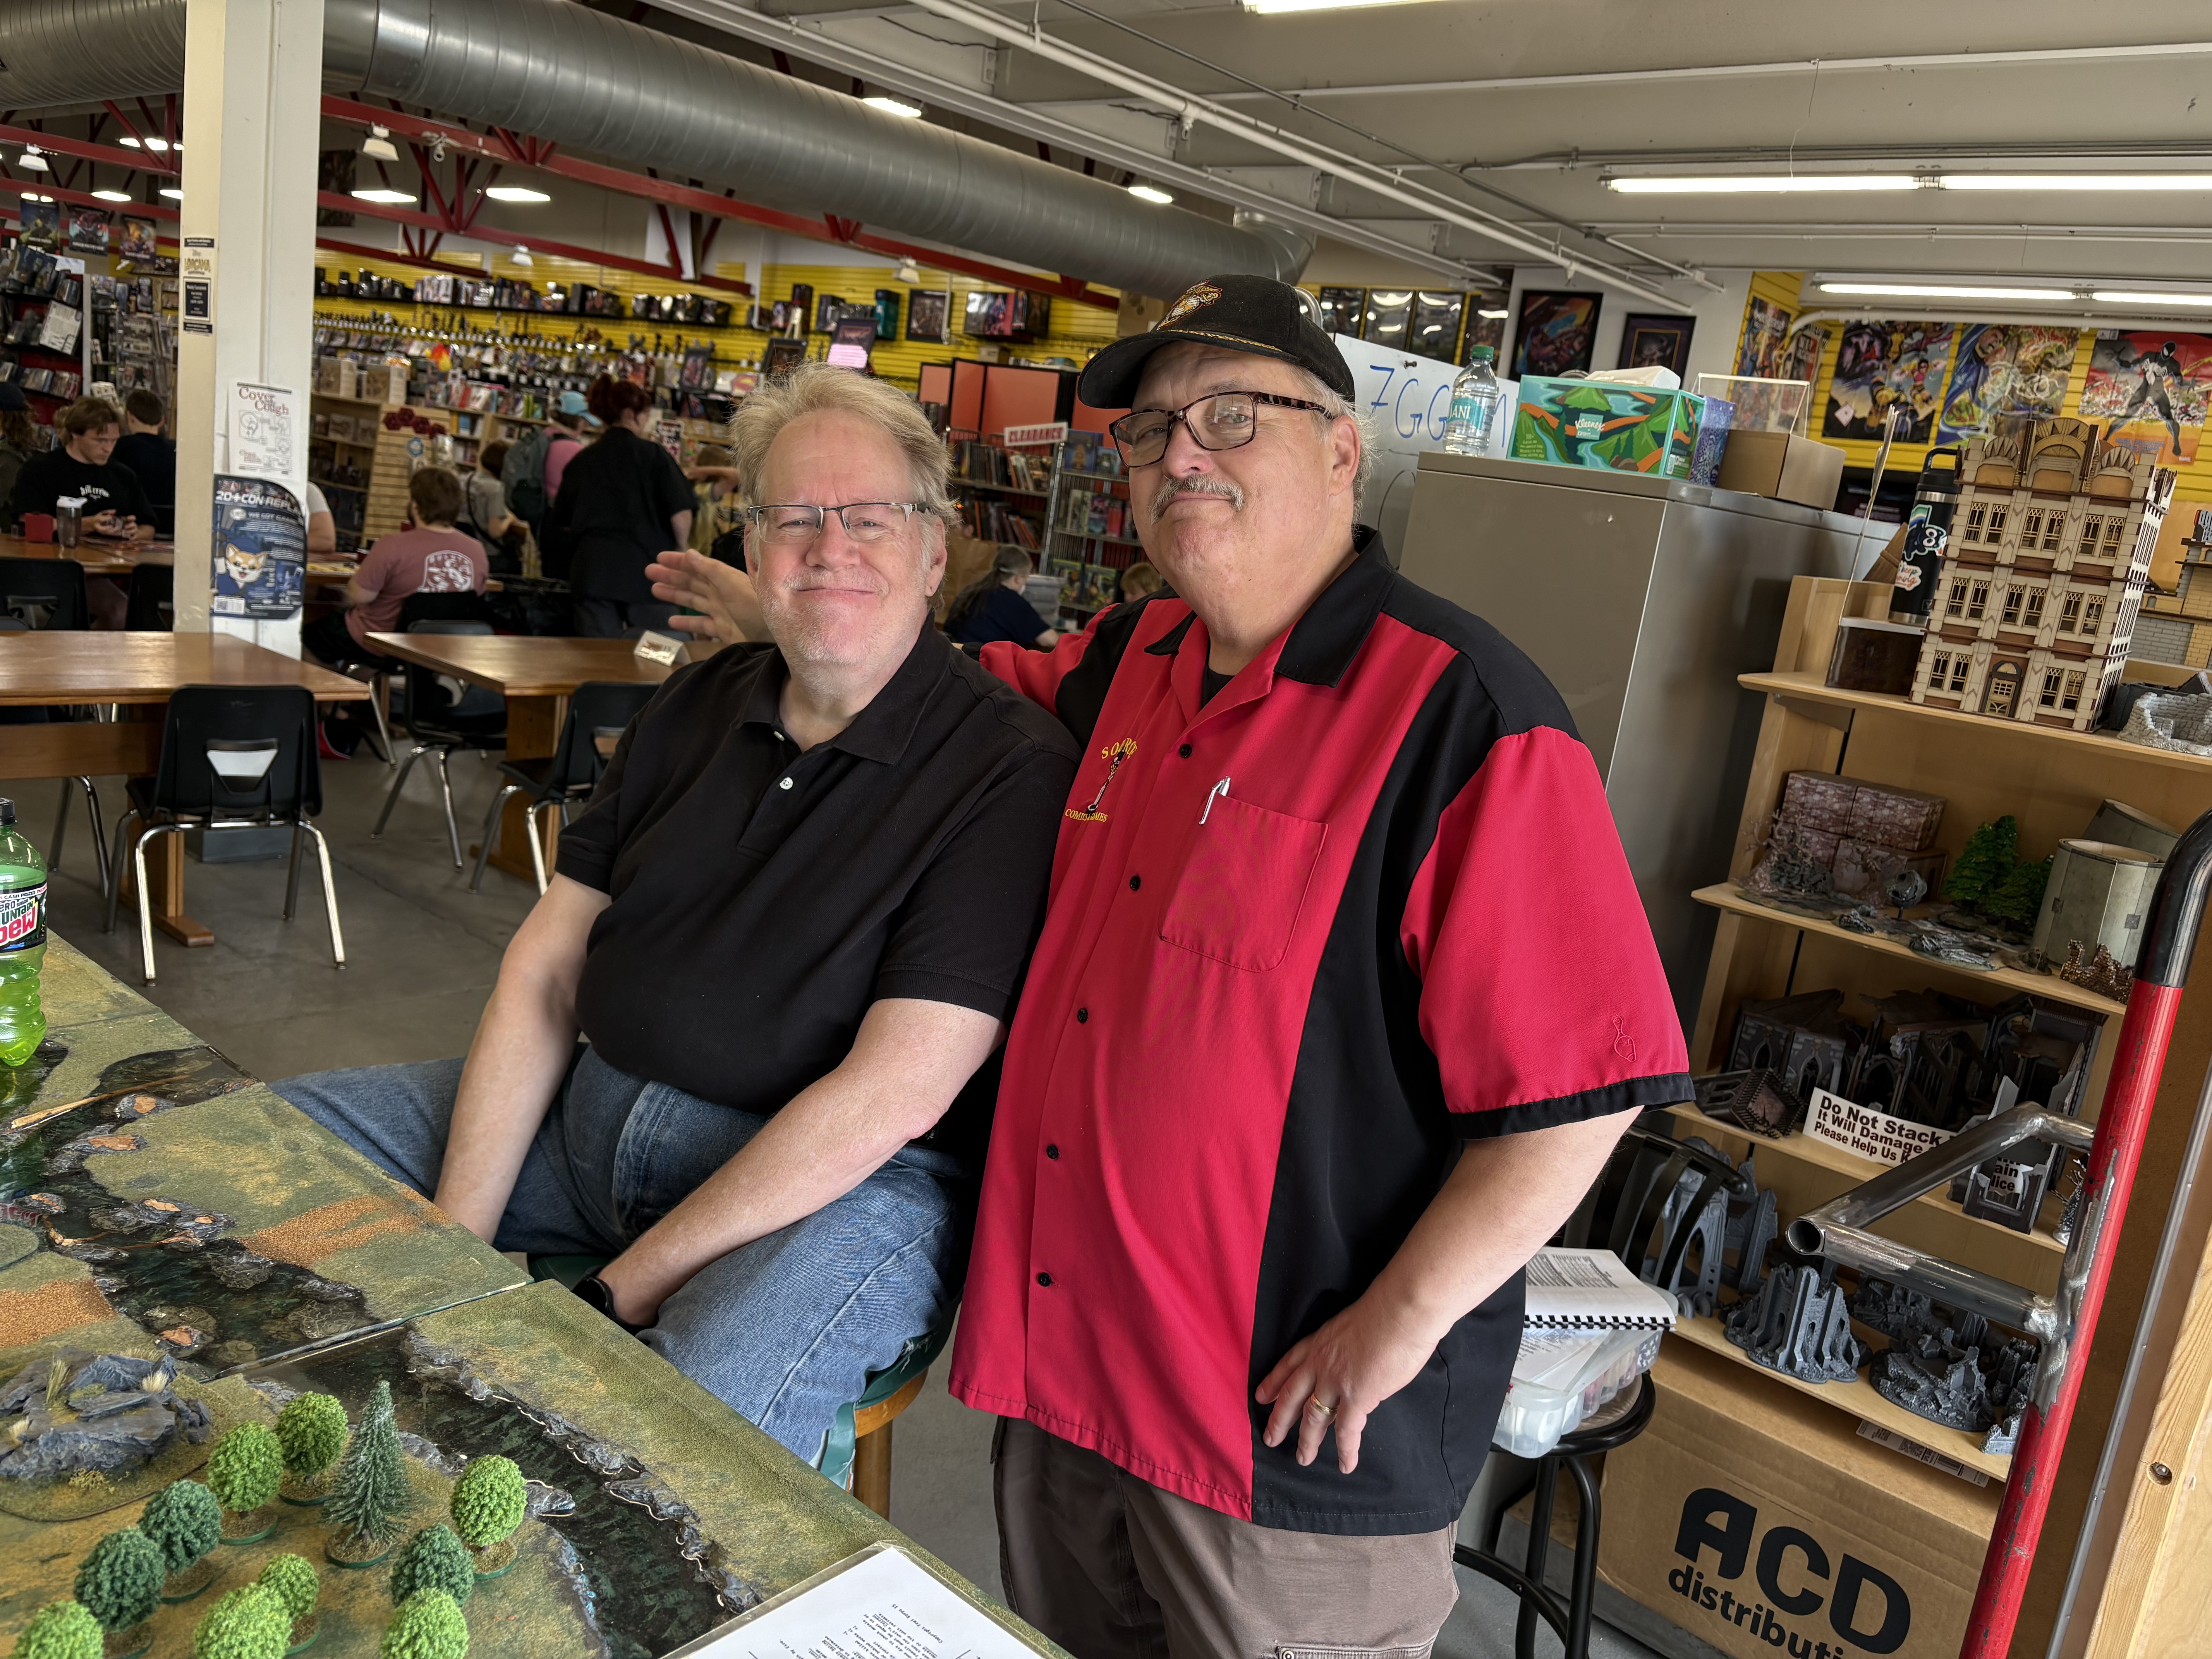

June 7th Koenig Krieg 15mm Seven Years' War Western Theater Jeff Johnson June 21th Field of Glory - Reinassance Sengoku Period Jim Fitzgerald
All Games at the Source Comics and Games Setup begins at 10:30 AM and play soon after. No Figures or Experience are Required to Play
April 5th Wings of Glory (modified) Air War of Malta - WWII Terry Ollila April 19th Regimental Fire & Fury Mexican American War Jim Fitzgerald
All Games at the Source Comics and Games Setup begins at 10:30 AM and play soon after. No Figures or Experience are Required to Play
March 1st The Men who would be King (modified) America War of Independence - South Carolina Campaign Jeff Johnson March 15th Field of Glory Renaissance - Samurai Jim Fitzgerald March 29th BattleTech - Alpha Strike Terry Ollila
All Games at the Source Comics and Games Setup begins at 10:30 AM and play soon after. No Figures or Experience are Required to Play
Feb 1st Koenig Krieg Western Theater Jim Fitzgeraldn Feb 15th Star Trek Attack Wing Terry Ollila
All Games at the Source Comics and Games Setup begins at 10:30 AM and play soon after. No Figures or Experience are Required to Play
December 7th Koenig Krieg Eastern Theater Jim Fitzgerald December 21st To be Announced Jeff Johnson
All Games at the Source Comics and Games Setup begins at 10:30 AM and play soon after. No Figures or Experience are Required to Play
 |
| Pettigrew's Division |
 |
| Pickett's Division |
 |
| Union Right |
 |
| Union Left |
 |
| 8th Ohio |
 |
| Lang's Brigade in front to Garnett's Brigade |
 |
| Artillery, Lang's Brigade and Garnett's Brigades. |
 |
| Garnett's Brigade |
 |
| Joe "Pettigrew" |
 |
| Marty "Baxter" and Odin "Hancock" |
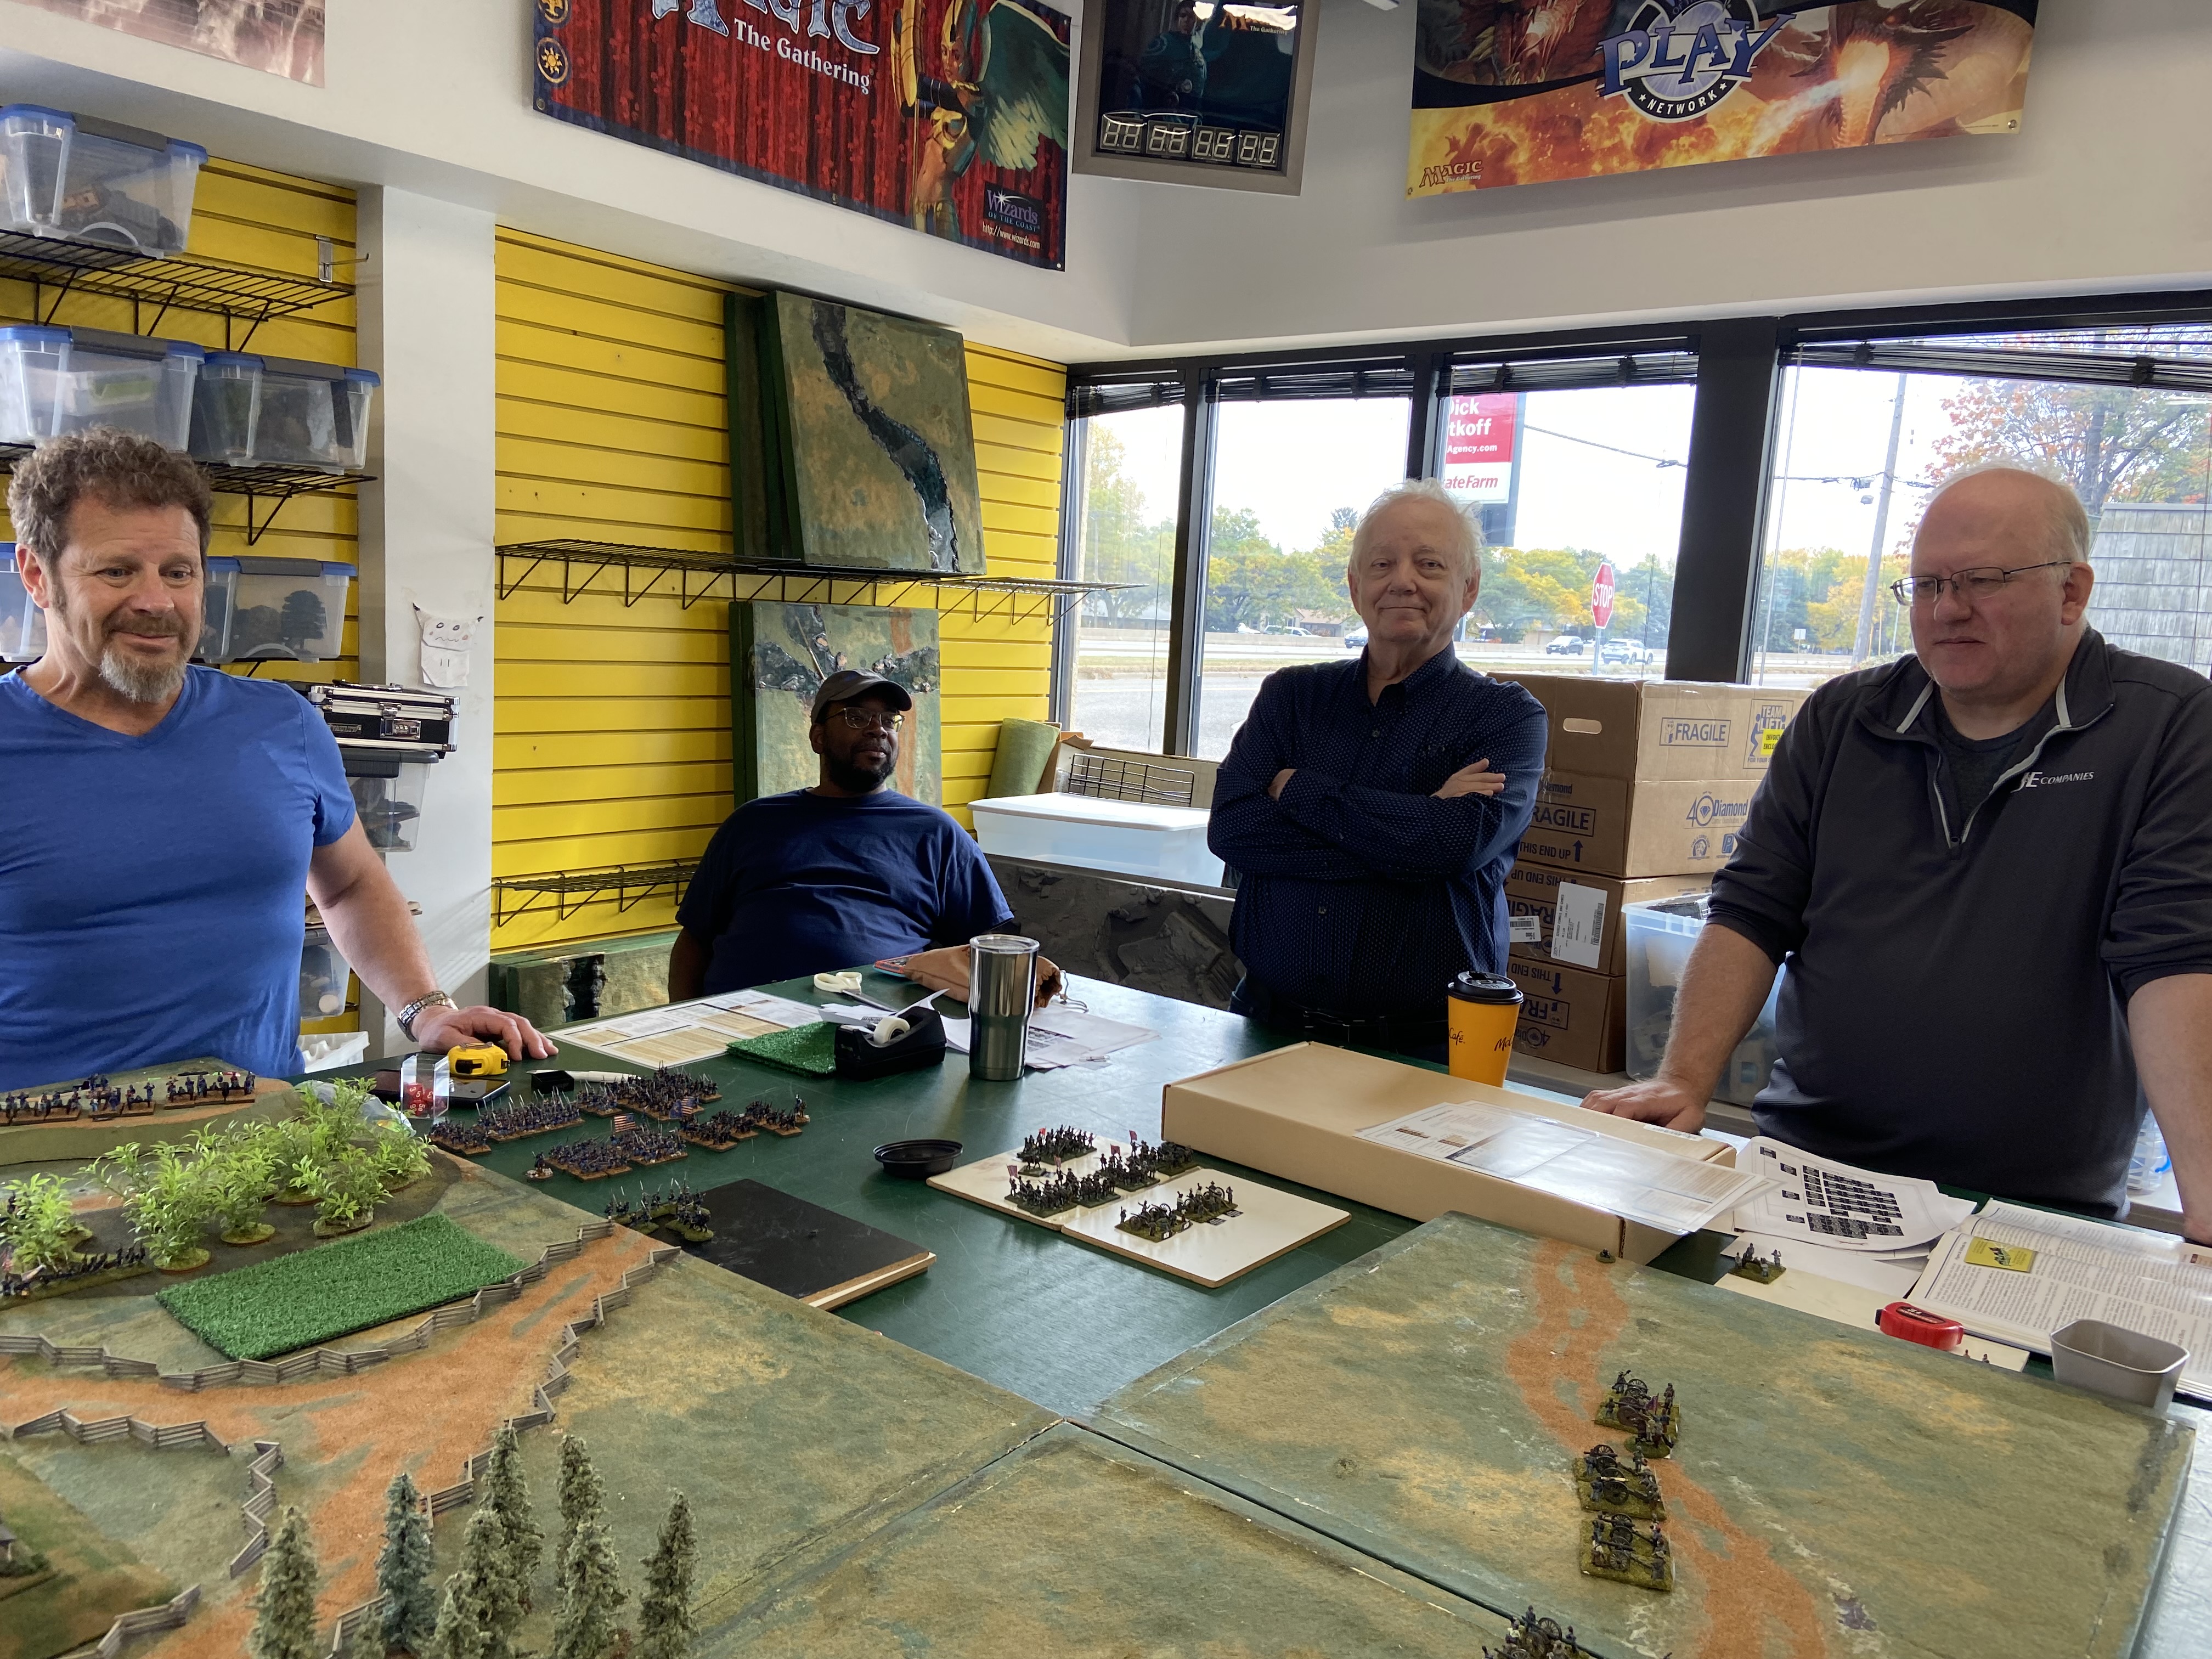 |
| Steve "Stannard", Ezra "Union Reinforcements" with Statler and Waldorf "Tom and Terry" |
 |
| Pickett's Brigade Rumbles Forward |
 |
| Wilcox's Brigade on the Edge of the World |
 |
| Confederate Right, Kemper and Wilcox's Brigades |
 |
| Confederate Right, Garnett, Lang, Kemper and Wilcox's Brigades |
 |
| Joe "Pettigrew", Jim "Trimble" and Rolf "Smyth" |

 |
| Confederate Right |
 |
| Confederate Right |
 |
| View Confederate Right from the Center |
 |
| Confederate Artillery Line |
 |
| Confederate Left |
 |
| Confederate Center |
 |
| Confederate Center |
 |
| Armistead's Brigade |
 |
| Confederate Center after Armistead's Brigade marches on. |
 |
| Pettigrew to the Wall. |
 |
| Pettigrew charge was checked. |
 |
| Ending Positions at the allotted end time of our game. |
 |
| A wider shot. |
 |
| From the Confederate Perspective prior to the Start of the Battle. Photo by Joe Knight |
 |
| Pettigrew's Division Photo by Joe Knight |
 |
| Pettigrew's Division Photo by Joe Knight |
 |
| From North looking South Photo by Joe Knight |
 |
| Pettigrew's Division Photo by Joe Knight |
 |
| Union Line Photo by Joe Knight |
 |
| Union Line Photo by Joe Knight |
 |
| Union Line from the South Photo by Joe Knight |
 |
| Union Reinforcements Photo by Joe Knight |
 |
| Pickett's Division Photo by Joe Knight |
 |
| Pickett's Division Photo by Joe Knight |
 |
| Union Line Photo by Joe Knight |
 |
| Pettigrew's Division Photo by Joe Knight |
 |
| Trimble's Division Photo by Joe Knight |
 |
| Pettigrew and Trimble's Divisions Photo by Joe Knight |
 |
| Pettigrew and Trimble's Division Photo by Joe Knight |
 |
| Looking South Photo by Joe Knight |
 |
| Pettigrew Closes Photo by Joe Knight |
 |
| Pickett's Charge Photo by Joe Knight |
 |
| Pettigrew's Charge Photo by Joe Knight |
 |
| Pettigrew and Trimble's Division Photo by Joe Knight |
 |
| Looking south at the end of our game. Photo by Joe Knight |
 |
| Looking South Photo by Joe Knight |
